Quickstart#
Added in version 1.2.4.
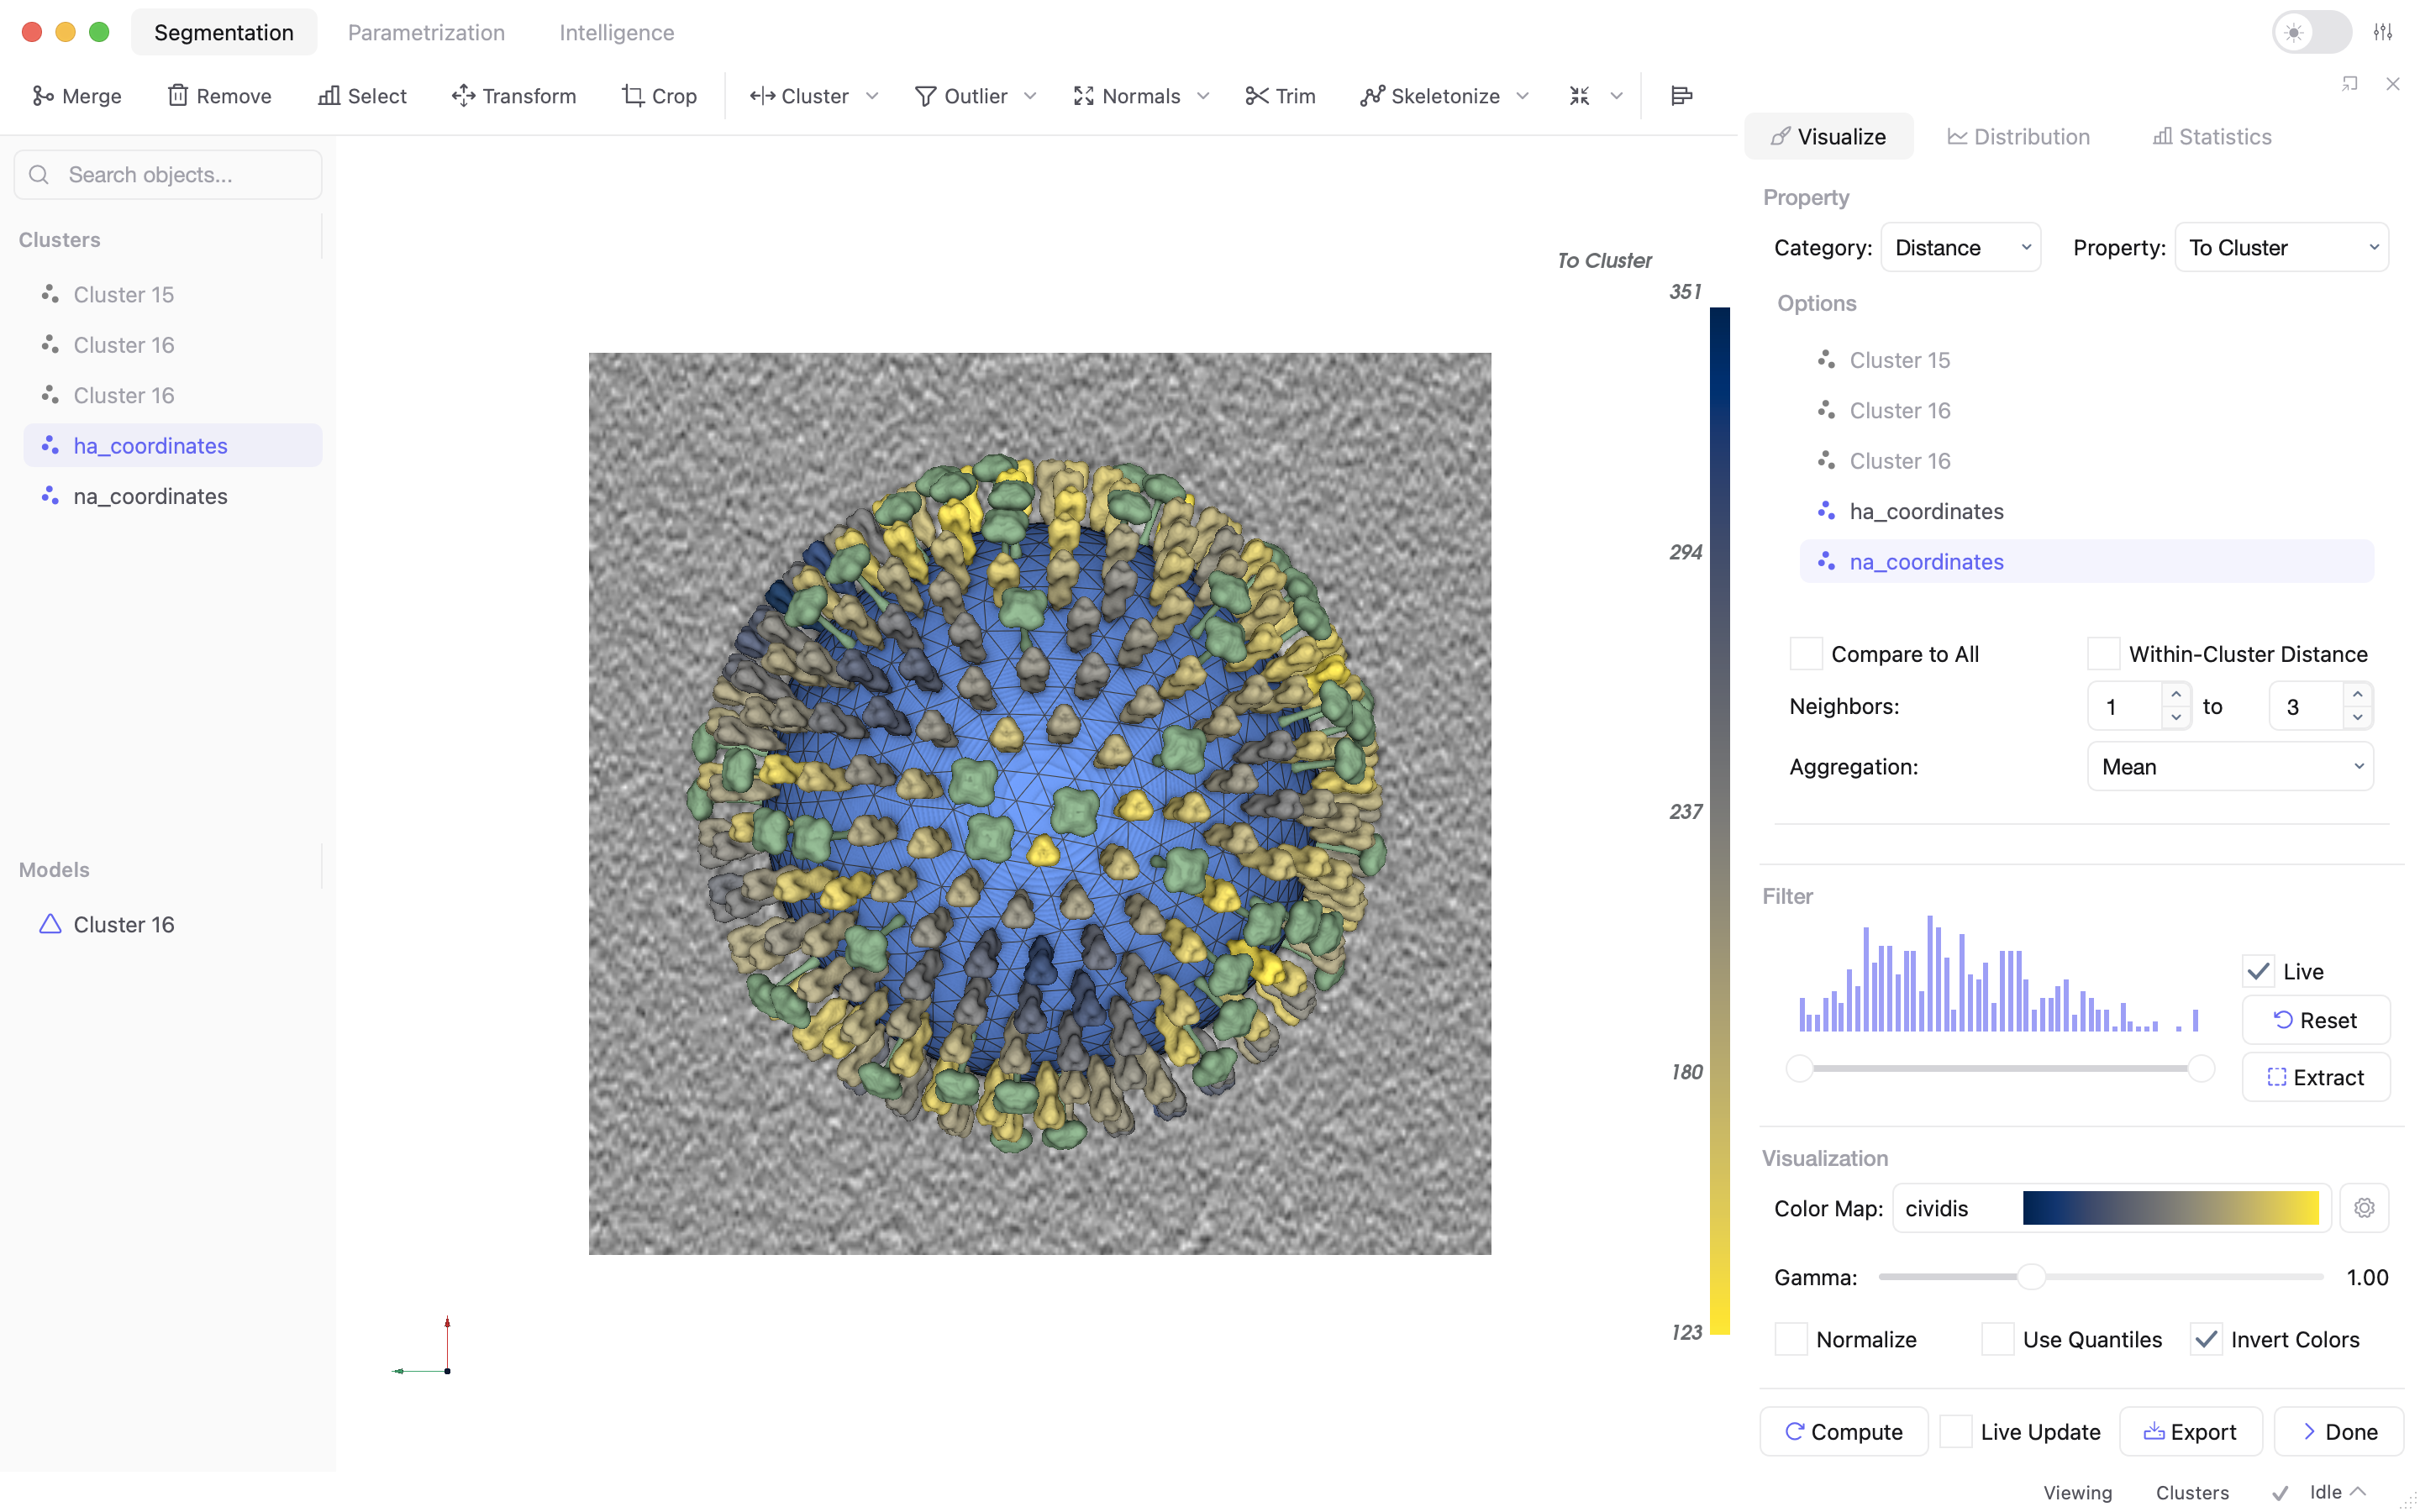
The basics chapter walks you through an Influenza A VLP and mirrors the workflow you would run on your own cryo-ET data. You will learn how to clean segmentations, fit meshes, render 3D protein models, and quantify distances, areas, and curvature.
On first launch, Mosaic will ask whether you want to start the tour. You can also start it at any time from the command line:
mosaic --onboard basics